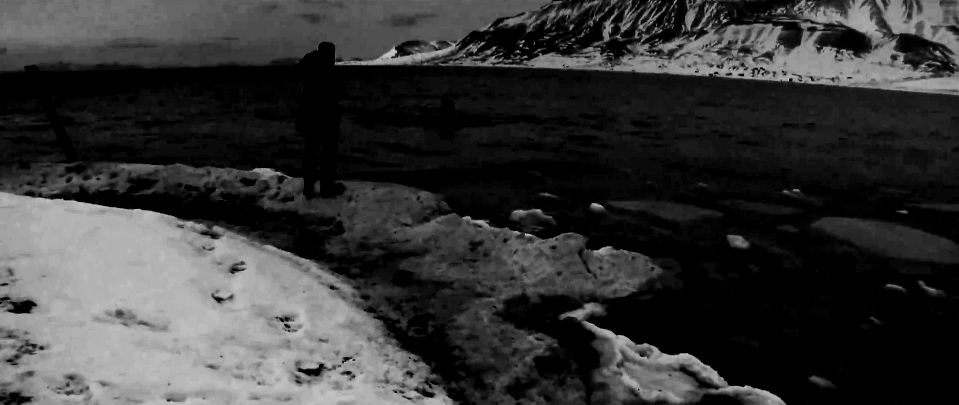
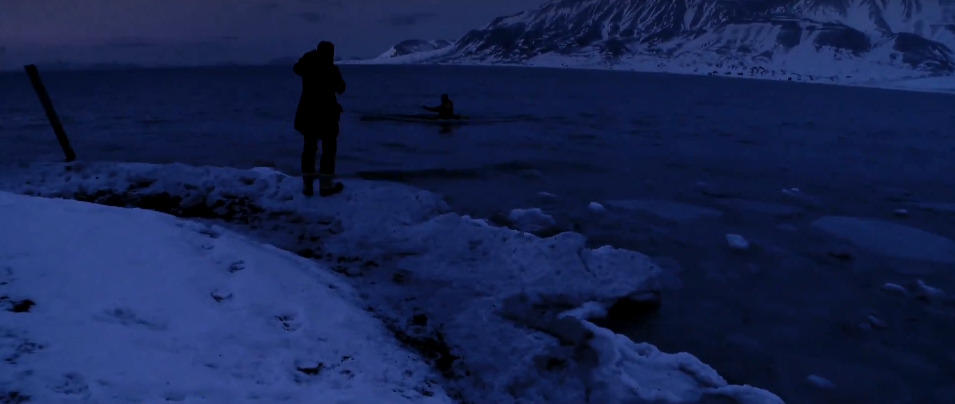
 Recently, I graded a set of short documentary films by director Doug Pray for Stamp Films & Philips Electronics for the Wake Up The Town campaign.
The films were set in the town of Longyearbyen, Norway and covered a study on the effects of the living in the Arctic Circle, where winter means almost four months of darkness. Obviously, light was an important part of these films and there were a few shots that needed a bit of extra love when it came to the delicate balance of an underexposed shot maintaing the dusk/night look while still being able to see the subject.
I took these shots into After Effects to do a little secondary color correction in a simple but pretty cool way.
First, I got the technique from an old tutorial on videocopilot.net. If you haven’t watched every single one of Andrew Kramer’s tutorials, you are missing out, so get busy. Anyway, the idea is to create a matte from the footage by starting with a Tint effect and then creating the matte by selecting what you want with a Curves effect. Boom. Matte.
Now you can have very fine control over specific parts of the image without compromising quality. Really, this is the basic premise behind HSL(Hue/Saturation/Luminance) qualifiers. Create a matte based on specific info about the selection range and then use that matte to adjust HSL of only a specific part of the image.

The best part of this method is that it really utilizes what After Effects does so well, layers, and therefore is more flexible than Final Cut’s Color Corrector 3-Way Secondary controls. Here you are layering the effect a bit easier. You could even utilize blend modes to get very nice effects. Yeah, you could do this in Final Cut, but it would be a major pain for much more than a couple layers. It is a little better in Color, because the Secondaries Room utilizes the image passed from the Primary In Room for each secondary in parallel, not one after the other like FCP would do when you layer filters.
Then again, Color has one of my favorite features on Lustre, the HSL curves adjustments. All do pretty much the same things by adjusting the values of a given input range, but it is nice to know a way to get to it if you are already in After Effects.
